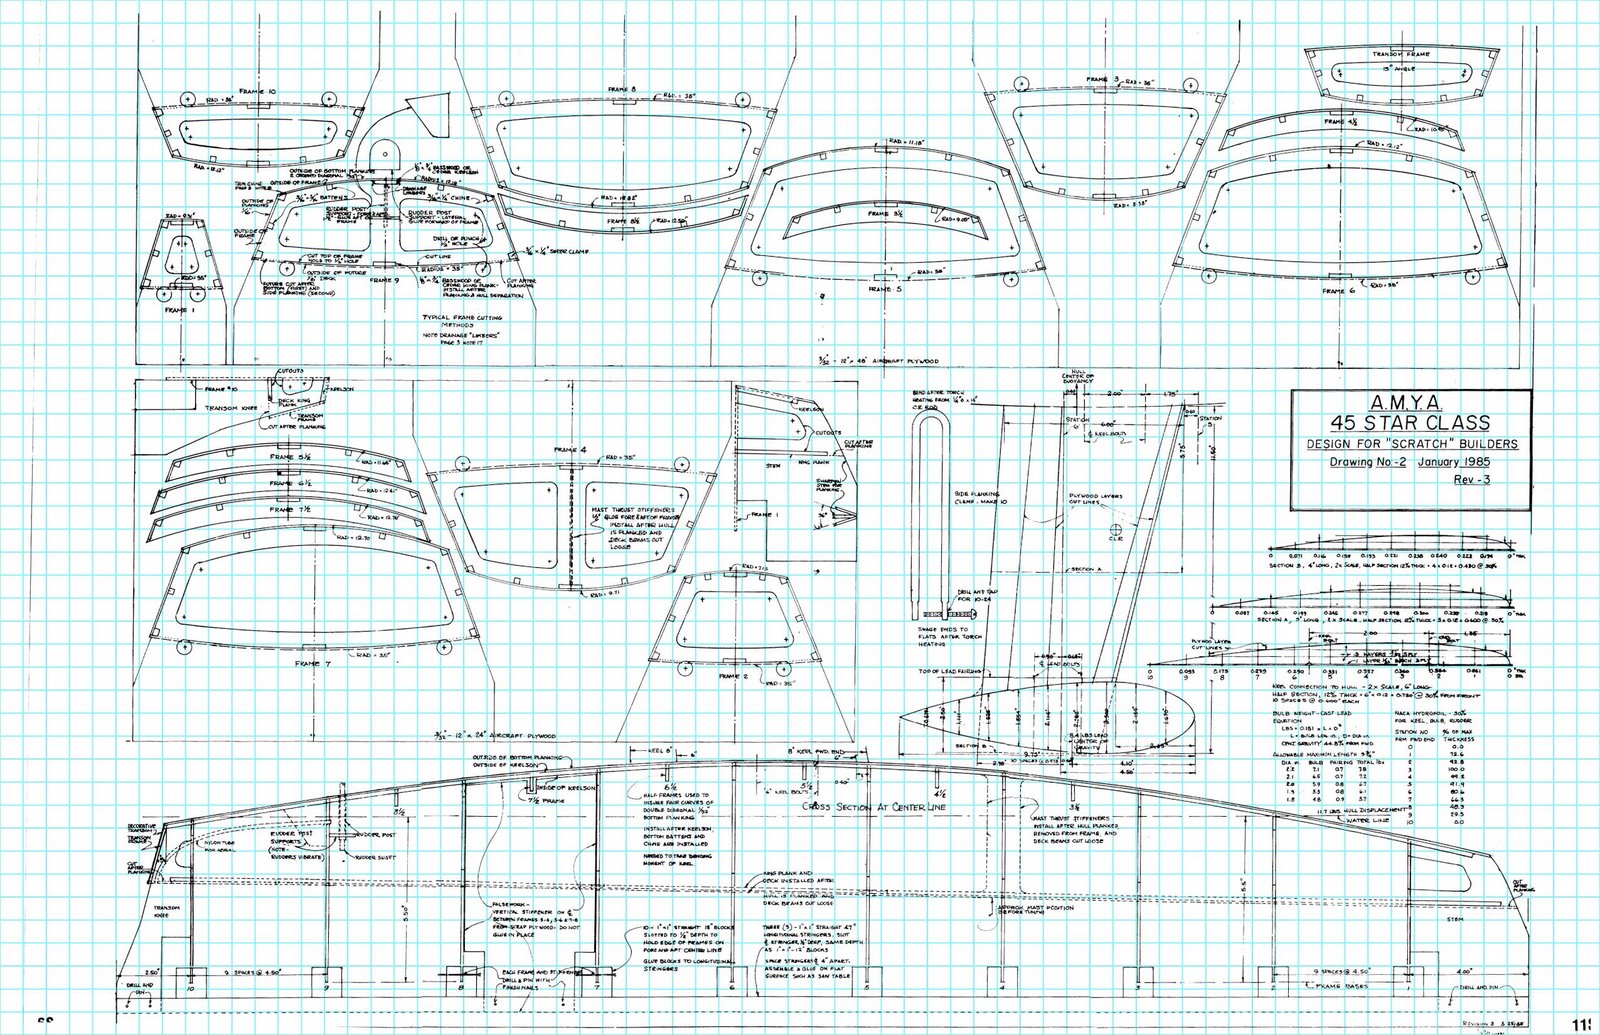
Boat Plans At Mystic Seaport
I took a two-week break from building the shantyboat to float the Sacramento River. I post this here, because floating on these big rivers is where I got the craving for living on a shantyboat.

Some of my favorite times are from drifting aimlessly in our DIY raft during hot summer days. These rafts were themselves kind of shantyboats, equipped as they were with a comfy couch, a driftwood and canvas cabin, a library, a shisha pipe, houseplants, all the comforts of home. But I remember moving this giant craft with no keel around on the river with canoe paddles. Totally exhausting after a while.
This time down the river, Kai and I went a lot lighter, opting for a simple canoe and a kayak. And because I just dont know how to leave well enough alone, I was going to experiment with a DIY outrigger on the canoe for stability.
We were bringing Hazel Dog along, so (thanks to Bonnie) we had a doggy life vest for her.
Heres our mountain of stuff, including the kayak borrowed from cousin Brian and Hazel Dog in the background.
It all finds its way into the truck.
A five hour drive to Redding from where we were going to launch. Google maps shows it as just over four hours, but when you dont dare go much over 60 mph, it takes longer. Kai looks placid in this photo, but her expression belies the fact that she is terrified of my truck with good reason.
Readying our stuff at the boat launch at Turtle Bay in Redding. This was the first summer that the gianormous diversion dam at Red Bluff had been left open to allow the river to flow freely (Yay, salmon!). So unlike previous trips where we had started in Red Bluff below the dam, we could start 50 miles further upriver and see the gorgeous section of river between Redding and Red Bluff.
Kai proudly shows off her ingenious DIY shade structure she constructed out of PVC and bamboo for the kayak. It probably saved her life since she is a pale redhead that shrivels up and dies under the heat of the sun. It also made me envious and self-recriminatory that I had not spent a little time constructing a similar shade for my canoe.
The outrigger worked beautifully. An eight inch sealed PVC tube crossed with timber bamboo and secured with bike innertubes. The normally-tippy canoe was solid as a rock.

The doggy life vest did not make Hazel happy. But she only had to wear it during our initial first few scary moments on the river and later when we encountered anything gnarly.
Shes normally pretty spry, but the tight vest left her unable to sit or curl up of jump or frolic. She just kind of stood there looking at us pleadingly. She looked a bit like the Michelin Man.
It was a simple life of reading and floating and occasionally paddling out of the way of snags and other hazards.
Camping along the rivers edge on sandy verges.
Fishing. We caught two little trouts. One on a treble spoon and one with creepy little helgamites. We returned them to the river.
The helgamites came out at night and crawled over us as we were trying to enjoy our campfire. They are like hyper earwigs that were bitten by a radioactive millipede.
They do not normally calmly perch on your finger for a picture as in this photo. Normally they would be running balls-out either under a rock or up your leg into your shorts to hide.
For three nights, a storm kept us at a sweet improved DIY campsite we found along the river. We pciked lots of blackberries and ate them for dessert and breakfast.
As always, going down the river, various fisherpeople, boaters, and well-meaning fools, filled us with dread and dire misinformation about all the hazards we had yet to encounter. As it turned out, in retrospect, some of the first whitewater we encountered up near Redding was the most difficult. Whether that was because of the intensity of the river or our relative inexperience, is hard to know. But going down river, people -- and our maps -- concurred that the terror of the Chinese Rapids was the most dangerous stretch of the river.

Now true, the river was running high, and so some dangerous sections of the river were little more than riffles, and other mellow sections were dramatic, but still. Id say the section of the river around the Chinese Rapids required us to remain alert, but did not offer us the Seven Shades of Death Served Up Cold and Wet we were promised.
It was however, intensely beautiful. A volcanic lava rock canyon, twisted into a dramatic S-bend, with harrowing jagged boulders erupting out of the stream. We were too busy to take photos of the most scenic part of the trip.
Red Bluff has always been kind to us when weve rafted the Sacramento. We camped near the I-5 bridge at the north end of town near a disc golf range.
We took a little vacation from our vacation, stocking up on used books, fishing tackle, and cafe breakfast, all of which were superb in Red Bluff.
The town rekindled my fantasy of a month- or more-long writers retreat in some obscure little town, Red Bluff a definite candidate.
After Red Bluff we tackled another one of our feared hazards: the decommissioned Red Bluff diversion dam. In summers past, the gates of the dam were down, making it easy to draw water from the river for agricultural projects and forming a lake for Red Bluff summer recreation.
We only had a vague notion that it was save to pass under the dam, with some vague conflicting information from people whose job we believed was to know, park employees, river outfitters, and so on. It turned out to be less hazardous than passing under standard bridge pylons. But more dramatic, as you can see.
As weve done almost every year, we brought way too much food. But we cooked up amazing and delicious grub. There really is nothing else like the smell of bacon and onions and garlic frying outside.
Sometimes the wind would mess with my little camp stove and Id have to improvise. I called this Stove Henge.
Rocking the River Amish look.
After our few days of stormy rain, the heat wave began. I love sun. I love hot. But anything that "feels like 119 degrees" is a bit much for me.
I had a little shade umbrella that Id found at the last minute, not imagining Id need it. It wasnt nearly enough. With Hazel panting like a freight train, I felt bad and gave her the shade of the little umbrella.
Our camp spots became strategic opportunities to hide in the shade of scant willows from the searing ball of fire in the sky.
One midday afternoon, we hid in the riverside jungle from the sun.
We camped on little islands and enjoyed the cool of the evenings.
When we stopped at Scottys Landing near Chico for a lingering lunch, unexcited to go back into the heat, we started considering alternatives. Kai the fog-loving sun-hater was reasonably comfortable under her clever shade structure. I was lethargic and dehydrated and sunburned. The projection was for many more days of even hotter weather.
This was transportation alternative number one.
This is alternative number two. I caught a ride into Chico and waited around for the Grey Dog to take me back to Redding. Meanwhile, Kai lolled around with Hazel at the swimming hole before breaking down the boats and schlepping all our shit from the boat launch to the side of the road. I got back down to Scottys with the truck and was able to pick up her and our mountain of stuff. It was still 98 degrees at one in the morning.
That night we stayed in the ridiculous cushy comfort of a cheap Chico hotel. Air conditioning and a cool shower and soft beds made a pretty sharp contrast to the previous week on the river, though not nearly as scenic.
Mission accomplished. We didnt drown and we didnt roast.

Do you find information about
Boat Plans At Mystic Seaport are you looking for? If not, below may help you find more information about the Boat Plans At Mystic Seaport. Thank you for visiting, have a great day.